PolyLite™ LW-PLA: Ultra-Lightweight Prints, Consistent Performance
Innovative Pre-Foamed Technology
Discover PolyLite™ LW-PLA - a pre-foamed PLA filament designed for projects where weight matters most. Unlike active foaming filaments, PolyLite™ LW-PLA is foamed during manufacturing, ensuring a consistently low density without the need to adjust extrusion temperatures.
Ideal Applications for Lightweight Models
Perfect for aerospace hobbyists and anyone looking to reduce model weight, PolyLite™ LW-PLA delivers strong, ultra-light prints with impressive detail.
Printing Tips for Optimal Results
To achieve the best print quality, review our recommended print settings before you begin. Note that LW-PLA can be prone to stringing, so fine-tuning your retraction and temperature settings is key.
Lightweight Strength You Can Trust
Achieve lightweight strength and reliability with PolyLite™ LW-PLA - your go-to filament for specialized, weight-sensitive applications.
Very lightweight, and impressively rigid for its density, you just need to keep a few things in mind:- Print it slow, like no faster than 100mm/s, and ideally around 75mm/s even if your printer can do much faster like mine, keep it slow.- Print at a higher temperature like 225C .- Make sure to calibrate pressure advance (at the correct temp) for this filament specifically.- The filament itself is very brittle but don't let that scare you, the final parts that come out are excellent.- Parts that are somewhat hollow inside will experience a lot of stringing, but all you need is a bit of sandpaper to go over it a few times to smooth out the surface and it'll be just like the outer perimeters.Attached image is a partially finished UAV printed with this material using:- 1 perimeter- 5% infill (gyroid)- 225C nozzle temp, 60C bed temp (PEI)- 0.14mm layer height- 100mm/s perimeters and 20-30mm for bridges, and 50mm/s for supports and top solid infill, gap fillNote the smooth print lines and clean surfaces.
This is really great filament! I've printed four spools of this material on my Qidi X-Max 3. 225C Ext, 55C Bed, 100% fans, 50mm/s, 25mm/s inital layer, glue stick on blue tape. No clogs. Little to no stringing. Had a few failed prints till I got these numbers. Now, I send it to the printer and go do something else till it's done. I put this on my subscribe and save so that I always have this to print with.
Printed 3dlabprint plane (their Piper Cub) where the struts are fragmented despite the overall print turns out to be pretty good with the following settings on my Creality Ender 3 V3 KE with standard .4 nozzle.Layer Height: .24Wall Line Count & all layers of 10 infill as recommended by 3dlabprintTravel and print speed: fairly low between 25 - 42 mm/sExtruder temp: 205 C and Bed temp: 60Material flow (extrusion multiplier): .90, .95, and even 1.0 all yield same resultsLine Width: .4Retraction distance: 2Retract speed: 45Retract prime speed: 30I use their included 3mf files (as this is the only ones recognized by my Slicer (Creality Print). In weighing the parts, they all seem be lighter than standard PLA by 20-30% but heavier than the more expensive foaming lw-pla from Colorfabb by like 10-30% so pretty much in the middle.
I used this for printing some RC aircraft parts and found that if you follow the instructions the filament performed as advertised. On my avg part I noticed a 20%-45% reduction in weight from standard PLA. One thing to note, this is ***Pre-Foamed***. I have read reviews were people were upset because it did not foam and they had to crank the temps up to get any foaming/expansion of the filament. It is not that type of LW-PLA. This prints better at lower temps, I found 190-195 to be the sweet spot for my parts. It is also not a smooth filament as it is pre-foamed it has a rough texture, to be expected.It prints great and with a nice smooth surface that is easily sanded where needed.
Like most PLA you have to find your grove in temp and bed temp during printing. I do recommend that if you work in a humid area - dry it out before a run. I also use a thin layer of glue stick on the print board to keep the initial layers in place. Very strong and much lighter than the PLA or PLA+. I use it in combination with PLA+, the light is perfect for airframes, wings, nose cones etc... Not so good for gears, servo arms or moving parts which can easily be stripped. It is prefoamed so the parts come out as designed. The ball cam shown here is mostly PLA LW with PLA+ only on the control arms and inner gears.
So this is my first time using this filament, I have used dozens of others in my print farm. I wanted to print a RC airplace and its doing a great job with a few issues. The settings I use worked on a couple of printers. Because it doesnt stick well onthe first layer I used 0.3mm first layers with a brim of at least 3mm. It get very stringy over 200C, in fact if its a small part you need to start at 190C and do the rest at 192C to get good layer bonding, and it does bond very well, but only with an extrusion multiplier of 1.15. I printed two of the same center wing parts, one in PLA+ and the other in this, the PLA weighed 18g and the LWPLA weighed 15g not a huge difference but enough. I also like the texture of the finished parts, it foams a little so you have a hard time seeing the print lines. One last thing, before printing the fillament is a little brittle, if your printer bends it around a small radius it will snap.
Pros:Super easy to use; standard Creality Slicer PLA profile worked fine with minimal stringingLighter than regular PLA by about 20%, Seems strongCons:Rough textures on the filament so it can snag on the filament sensor on the ender 3, Heavier than other LW-PLAs. Printed a model plane part:Hatchbox standard PLA: 3.84This stuff: 3.1gUnknown lw-pla brand printed for me by a friend using same layer/thickness settings: 1.8 (lighter but flimsier)All in all pretty happy as traditional expanding lw-pla sounds like a nightmare to get the settings right on, and this works as a drop in replacement for a generic PLA profile.
The important bits: layer bonding and strength is incredible! very rigid and much lighter than PLA or PLA+ but heavier than foaming lightweight PLA. I am going to use this on all my future 3D printed planes!Now my long boring story :)Patience was the key with this filament! I have seen too many great reviews to think that there was an issue with the filament itself. I took the recommended approach of printing using PLA settings and increasing the retraction distance and speed to the settings recommended on polymakers website. My prints were completely unusable initially. I didn't have a lot of time after work to run calibration tests but I did what I could in my free time. I would change one setting and print a part, I didn't write anything down and I didn't keep track of my changes. The poor print quality was completely my fault for not taking the proper time to dial in the print settings. I even tried multiple slicers! I finally had a day off! no chores, no work... time to get this right :)I started with the basics, e-step calibration and PID tuning. Those were very close to perfect already so I knew that wasn't my issue. I started back with the defualt PLA settings and did a retraction test (two 10mm cubes spaced 40mm apart). I would do a print and take a picture, record the settings and results and then make only 1 change to 1 setting at a time until I got the setting dialed in. Then I would move to the next setting. Rinse and repeat until I got everything dialed in. About 10 hours later, a nearly perfect print with just the smallest amount of stringing!Don't do what I did and just get frustrated and start throwing different settings at this stuff! It took the perfect mix of speed, temp, retraction speed & distance as well as extra prime after retraction to get this stuff dialed in. A change to any one of those setting will throw off the print!Cura 5.10Artillery Sidewinder X2 (love this printer!)Fulament magnetic flex PEI bedTemp 190Bed temp 60 (I always run 60 for everything, just seems to work)Print speed 40mm/sTravel speed 250mm/sRetraction 3.5mmRetraction Speed 35mm/sExtra prime after retraction .36mmMy issue was an extreme amount of stringing and oozing. I am printing a single walled print and it is important to have a strong Z seam. The loss of material during travel moves and layer changes made the Z seam very weak.
It is light weight. I can't give a full evaluation as this is the first time printing it. Also settings were locked in with a different slicer/printer setup so I believe my results will be better as experience is gained. Epoxy resin really added to the strength but added more time to the build process I hope to avoid in the future.
Printing Temperature: 190˚C - 210˚C
Bed Temperature: 30˚C - 50˚C
Printing Speed: 25mm/s - 60mm/s
Fan: ON
Direct Drive:
Retraction Distance: 3mm
Retraction Speed: 40mm/s
Indirect Drive:
Retraction Distance: 6mm
Retraction Speed: 60mm/s
Drying Settings: 55˚C for 6h
(Only if the material has absorbed moisture)
Please note that LW-PLA likes to print hairy even with the best settings - so a light blast with a heat gun or scrape with a razor will help to remove this string.
Can't find the profile you are looking for? Join our very active Discord where thousands of members may have already made the profile you need.
What is the difference between active foaming and passive foaming?
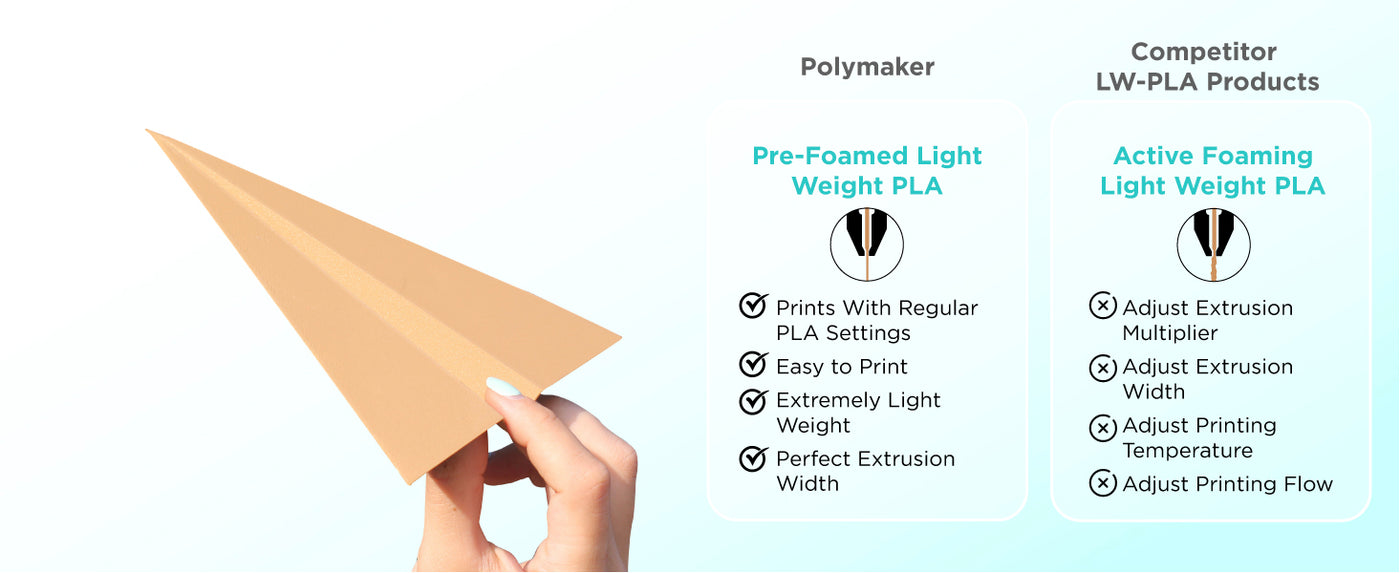
PolyLite™ LW-PLA is not an active foaming filament, which means it will not foam when extruded from the nozzle depending on the temperature. PolyLite™ LW-PLA is already pre-foamed.
What are the pros and cons between active and passive foaming?
Active foaming:
You need to heavily modify your printing settings depending on the temperature and setup to compensate the foaming expansion of the material when printing.
You need to print at very high temperature to achieve light weight results (~250˚), these high temperatures will create a lot of defects on the print such as stringing and blobs.
At very high temperature, active foaming can achieve lighter print than passive foaming however the print may suffer of serious stringing defects.
Passive foaming:
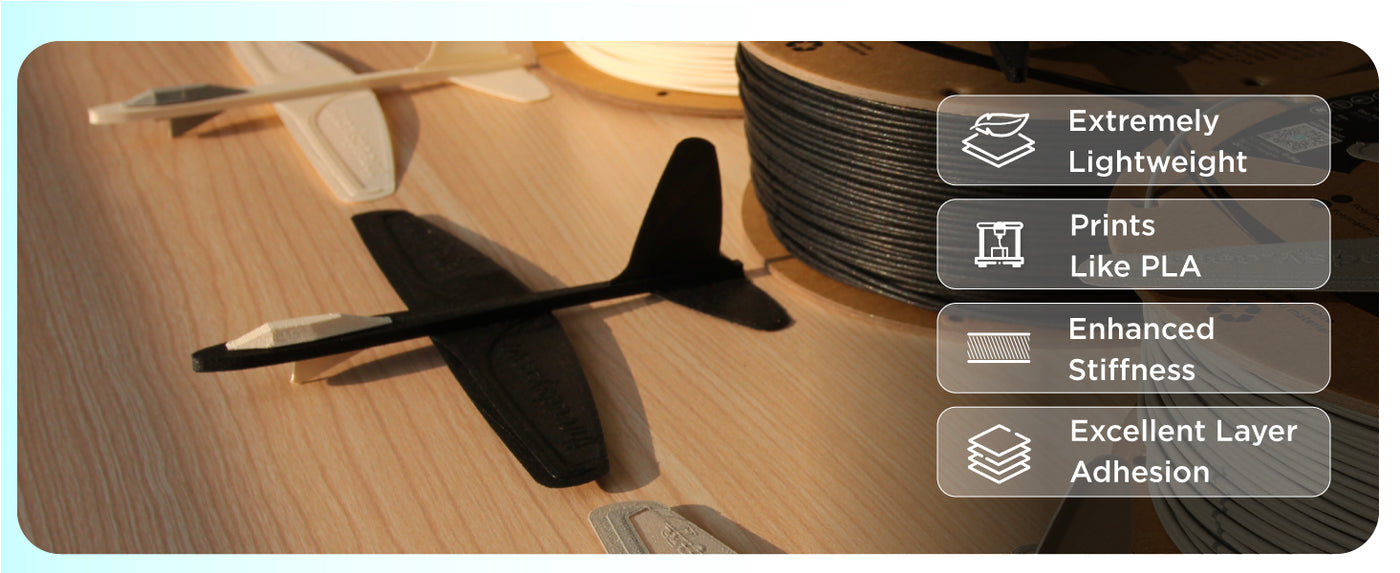
You do not need to change any settings from your regular PLA settings (slight increase retraction) as PolyLite™ LW-PLA will offer light weight results even when printing at very low temperature (~190˚C).
The lower the temperature the higher quality the print.
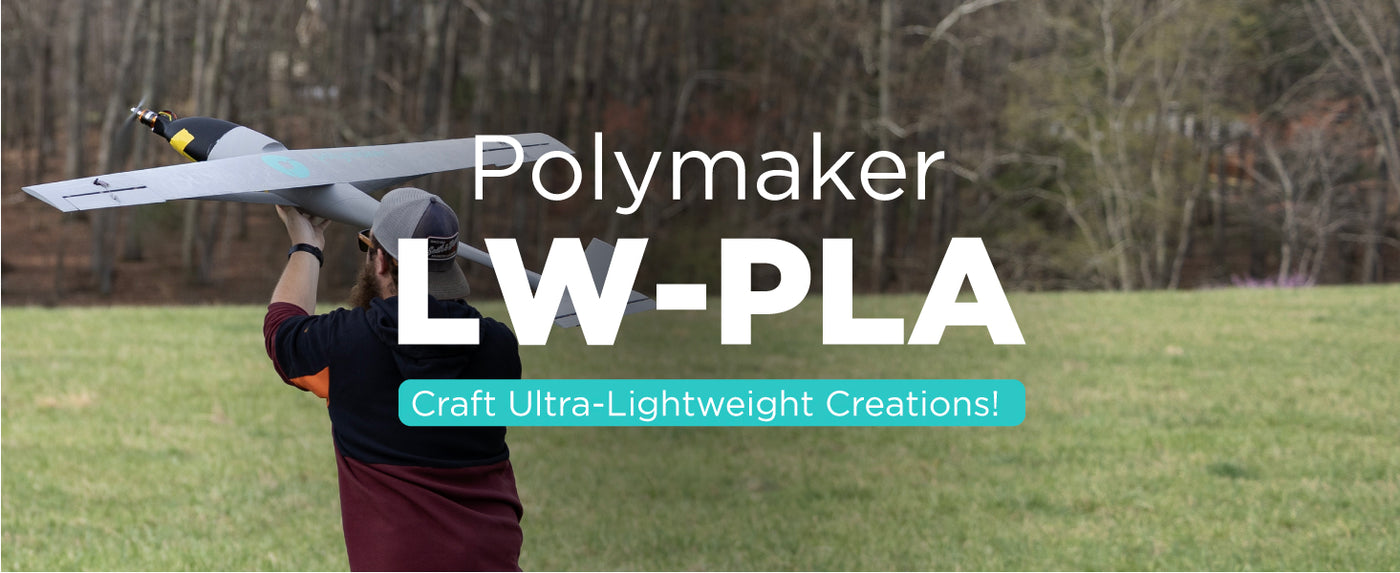
Is PolyLite™ LW-PLA good for RC Planes?
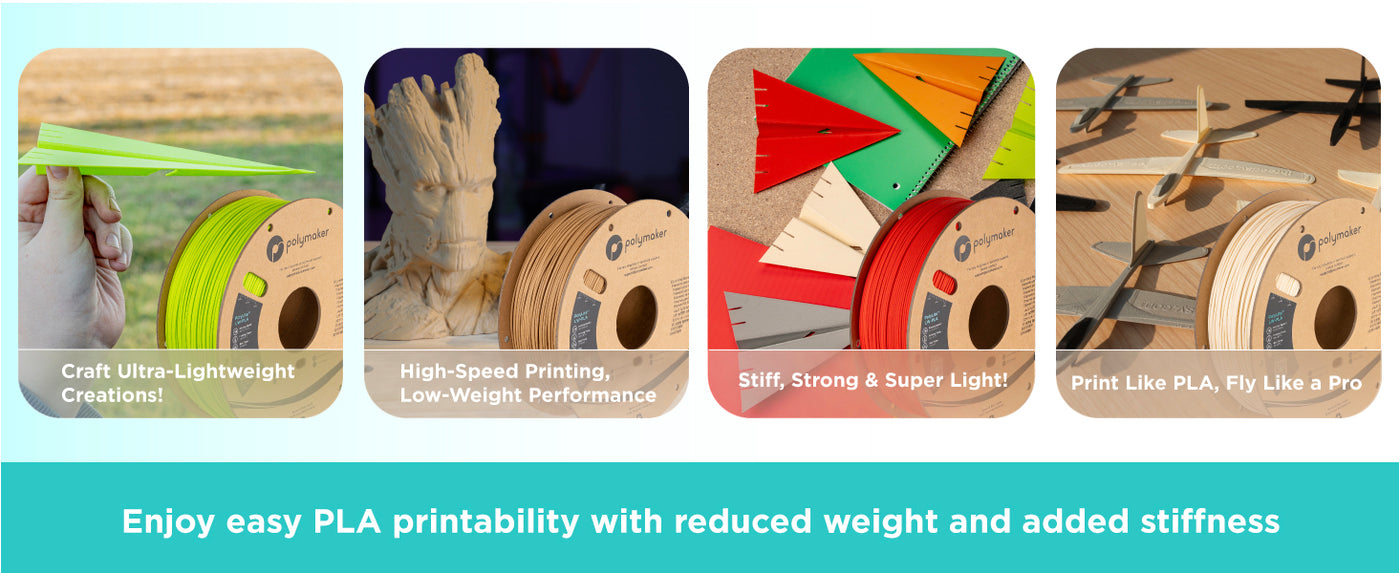
Yes, PolyLite™ LW-PLA is designed for ease of print and strong rigidity. For more information check out the review below about PolyLite™ LW-PLA for RC Plane application.
What is the difference between PolyLite™ LW-PLA and PolyWood™?
There is no difference! The wood color on LW-PLA is actually the same product as PolyWood™.
How do I reduce stringing?
LW-PLA and PolyWood™ are both materials that are prone to stringing. Here are some tips:
- 190˚C printing temperature (at 50mm/s printing speed)
- Maximum travel speed
- 0.5mm coasting and 1mm wiping (depending on the model)
Usually coasting and wiping is what helps the most
Will the spools work in an AMS?
Yes! We have redesigned the edges of our spools so all Polymaker products will now spin great in the AMS.
Is this material food safe?
Unfortunately we do not have any data whether this material is food safe. As of now, no 3D printing material on the market is FDA food safe compliant. This is because in order to be certified as food safe, the actual object needs to be certified and not the base material. The shape, bed used, environment the object was made, and much more goes into getting a food safety certificate. As of now there is no real certification that the FDA offers for 3D printing.
Do you sell refills?
We are sorry but we do not sell refills at this time
Is this material recyclable?
Unfortunately there is no great answer for recycling PLA at this time. Our cardboard spools are biodegradable but there is no great way to recycle PLA at this time.
Printing Requirements
None! Will print great on any stock FDM 3D printer without any upgrades required.
If using a stock, older style printer - we would recommend printing slower.
REACH | RoHS | 889 | PCP | ISO9001 CERT
Payment & Security
Payment methods
Your payment information is processed securely. We do not store credit card details nor have access to your credit card information.
Product Information & Downloads


Very lightweight, and impressively rigid for its density, you just need to keep a few things in mind:- Print it slow, like no faster than 100mm/s, and ideally around 75mm/s even if your printer can do much faster like mine, keep it slow.- Print at a higher temperature like 225C .- Make sure to calibrate pressure advance (at the correct temp) for this filament specifically.- The filament itself is very brittle but don't let that scare you, the final parts that come out are excellent.- Parts that are somewhat hollow inside will experience a lot of stringing, but all you need is a bit of sandpaper to go over it a few times to smooth out the surface and it'll be just like the outer perimeters.Attached image is a partially finished UAV printed with this material using:- 1 perimeter- 5% infill (gyroid)- 225C nozzle temp, 60C bed temp (PEI)- 0.14mm layer height- 100mm/s perimeters and 20-30mm for bridges, and 50mm/s for supports and top solid infill, gap fillNote the smooth print lines and clean surfaces.
This is really great filament! I've printed four spools of this material on my Qidi X-Max 3. 225C Ext, 55C Bed, 100% fans, 50mm/s, 25mm/s inital layer, glue stick on blue tape. No clogs. Little to no stringing. Had a few failed prints till I got these numbers. Now, I send it to the printer and go do something else till it's done. I put this on my subscribe and save so that I always have this to print with.
Printed 3dlabprint plane (their Piper Cub) where the struts are fragmented despite the overall print turns out to be pretty good with the following settings on my Creality Ender 3 V3 KE with standard .4 nozzle.Layer Height: .24Wall Line Count & all layers of 10 infill as recommended by 3dlabprintTravel and print speed: fairly low between 25 - 42 mm/sExtruder temp: 205 C and Bed temp: 60Material flow (extrusion multiplier): .90, .95, and even 1.0 all yield same resultsLine Width: .4Retraction distance: 2Retract speed: 45Retract prime speed: 30I use their included 3mf files (as this is the only ones recognized by my Slicer (Creality Print). In weighing the parts, they all seem be lighter than standard PLA by 20-30% but heavier than the more expensive foaming lw-pla from Colorfabb by like 10-30% so pretty much in the middle.
I used this for printing some RC aircraft parts and found that if you follow the instructions the filament performed as advertised. On my avg part I noticed a 20%-45% reduction in weight from standard PLA. One thing to note, this is ***Pre-Foamed***. I have read reviews were people were upset because it did not foam and they had to crank the temps up to get any foaming/expansion of the filament. It is not that type of LW-PLA. This prints better at lower temps, I found 190-195 to be the sweet spot for my parts. It is also not a smooth filament as it is pre-foamed it has a rough texture, to be expected.It prints great and with a nice smooth surface that is easily sanded where needed.
Like most PLA you have to find your grove in temp and bed temp during printing. I do recommend that if you work in a humid area - dry it out before a run. I also use a thin layer of glue stick on the print board to keep the initial layers in place. Very strong and much lighter than the PLA or PLA+. I use it in combination with PLA+, the light is perfect for airframes, wings, nose cones etc... Not so good for gears, servo arms or moving parts which can easily be stripped. It is prefoamed so the parts come out as designed. The ball cam shown here is mostly PLA LW with PLA+ only on the control arms and inner gears.
So this is my first time using this filament, I have used dozens of others in my print farm. I wanted to print a RC airplace and its doing a great job with a few issues. The settings I use worked on a couple of printers. Because it doesnt stick well onthe first layer I used 0.3mm first layers with a brim of at least 3mm. It get very stringy over 200C, in fact if its a small part you need to start at 190C and do the rest at 192C to get good layer bonding, and it does bond very well, but only with an extrusion multiplier of 1.15. I printed two of the same center wing parts, one in PLA+ and the other in this, the PLA weighed 18g and the LWPLA weighed 15g not a huge difference but enough. I also like the texture of the finished parts, it foams a little so you have a hard time seeing the print lines. One last thing, before printing the fillament is a little brittle, if your printer bends it around a small radius it will snap.
Pros:Super easy to use; standard Creality Slicer PLA profile worked fine with minimal stringingLighter than regular PLA by about 20%, Seems strongCons:Rough textures on the filament so it can snag on the filament sensor on the ender 3, Heavier than other LW-PLAs. Printed a model plane part:Hatchbox standard PLA: 3.84This stuff: 3.1gUnknown lw-pla brand printed for me by a friend using same layer/thickness settings: 1.8 (lighter but flimsier)All in all pretty happy as traditional expanding lw-pla sounds like a nightmare to get the settings right on, and this works as a drop in replacement for a generic PLA profile.
The important bits: layer bonding and strength is incredible! very rigid and much lighter than PLA or PLA+ but heavier than foaming lightweight PLA. I am going to use this on all my future 3D printed planes!Now my long boring story :)Patience was the key with this filament! I have seen too many great reviews to think that there was an issue with the filament itself. I took the recommended approach of printing using PLA settings and increasing the retraction distance and speed to the settings recommended on polymakers website. My prints were completely unusable initially. I didn't have a lot of time after work to run calibration tests but I did what I could in my free time. I would change one setting and print a part, I didn't write anything down and I didn't keep track of my changes. The poor print quality was completely my fault for not taking the proper time to dial in the print settings. I even tried multiple slicers! I finally had a day off! no chores, no work... time to get this right :)I started with the basics, e-step calibration and PID tuning. Those were very close to perfect already so I knew that wasn't my issue. I started back with the defualt PLA settings and did a retraction test (two 10mm cubes spaced 40mm apart). I would do a print and take a picture, record the settings and results and then make only 1 change to 1 setting at a time until I got the setting dialed in. Then I would move to the next setting. Rinse and repeat until I got everything dialed in. About 10 hours later, a nearly perfect print with just the smallest amount of stringing!Don't do what I did and just get frustrated and start throwing different settings at this stuff! It took the perfect mix of speed, temp, retraction speed & distance as well as extra prime after retraction to get this stuff dialed in. A change to any one of those setting will throw off the print!Cura 5.10Artillery Sidewinder X2 (love this printer!)Fulament magnetic flex PEI bedTemp 190Bed temp 60 (I always run 60 for everything, just seems to work)Print speed 40mm/sTravel speed 250mm/sRetraction 3.5mmRetraction Speed 35mm/sExtra prime after retraction .36mmMy issue was an extreme amount of stringing and oozing. I am printing a single walled print and it is important to have a strong Z seam. The loss of material during travel moves and layer changes made the Z seam very weak.
It is light weight. I can't give a full evaluation as this is the first time printing it. Also settings were locked in with a different slicer/printer setup so I believe my results will be better as experience is gained. Epoxy resin really added to the strength but added more time to the build process I hope to avoid in the future.
Canada
Global


