

 Canada
 Global
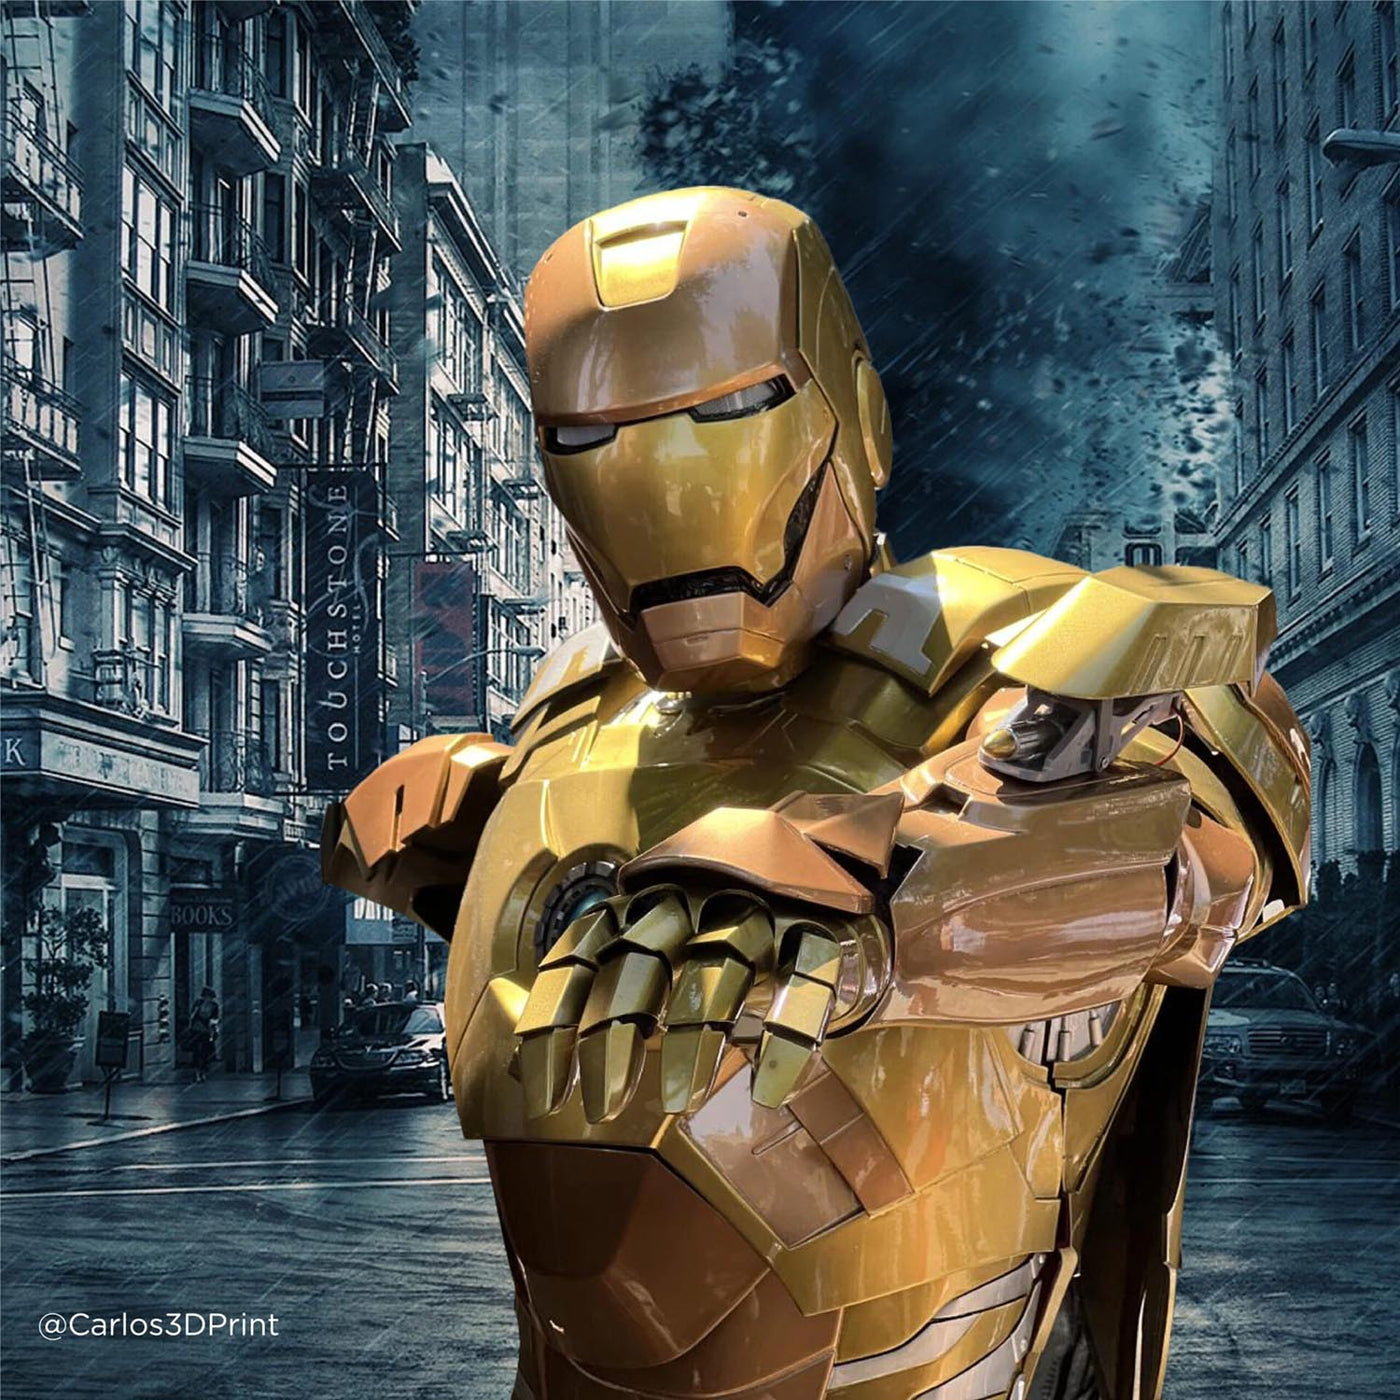
This page won't be classified as a standard print tip; instead, it offers tips on combining, smoothing, sanding, and painting your 3D printed object. There will be no printing tips here, just guidance on post-processing.
Combining Prints
3D Gloop
3D Gloop is a company that makes adhesives specifically meant for 3D prints. As of writing this page – they offer 3 produces – PLA Gloop, ABS/ASA Gloop, and PET Gloop.
The PLA Gloop we have tried has worked great. Their PET Gloop is the most interesting in my opinion, since it can often be difficult to find a good solution to bond PET or PETG parts together.
Along with their products working and having great reviews in the 3D printing community, the fact they are making their products specifically for our applications leads them to be a great choice for bonding prints together.
Loctite or Gorilla Glue Super Glue Gel
Combining 3D printed parts can be challenging, which is why many 3D printing enthusiasts prefer Loctite Super Glue Gel, Gorilla Glue Super Glue Gel, or other similar products. At least until 3D Gloop came around, since that may now be a bit more preferred overall.
Loctite Super Glue Gel is strong, readily available, and dries in under a minute. When dealing with parts that can't easily be clamped or small parts that are prone to breaking, Loctite is a reliable choice. However, be cautious as it dries quickly and can easily glue your fingers to the part.
Once you've used as much glue as possible from the tube, remove it from the hard plastic bottle, as about 30% of the glue remains inaccessible until then.
Loctite Super Glue Gel works well on PLA, ABS, and many other plastics, but it's not effective on everything. Nylon materials are challenging to bond with adhesives.
Devcon Plastic Welder
This is a two-part welder that you mix and apply to achieve a very strong bond. Devcon is just one manufacturer of plastic welders, although wehaven't tried them all. In my experience, Devcon Plastic Welder is stronger than the actual layer adhesion, as the part usually breaks before the bond does. However, it takes about 10 minutes to achieve a decent hold and nearly 24 hours for a fully cured weld.
Therefore, I personally use Loctite Super Glue Gel or 3D Gloop for difficult-to-hold and small spots, and Devcon Plastic Welder for almost everything else. If you can easily clamp your parts together, plastic welding is likely the best option.
The only issue I've encountered is that sometimes one part of the welder flows at a different rate than the other, leading to wasted product. I suspect this is due to receiving older stock, but it's hard to determine the exact cause.
Notes about Super Glue and Plastic Welding
These two products work great with PLA and many other hard plastics, but they do NOT work well with nylons. I've only done minimal testing on bonding nylon parts together, and I have yet to find a satisfactory solution.
For cosplay or fan art pieces, use PLA or other hard plastics. If you're designing a mechanical piece to be printed in two parts with nylon, design those parts to screw or clamp together. Do not rely on super glue or plastic welding for parts intended for mechanical applications.
J-B Weld
This product is exceptional and allows you to weld plastic parts to metal parts with a very strong hold. The bond is so strong that I couldn't separate the parts no matter how hard I tried. To remove the plastic from the metal, you need to use a Dremel or a soldering iron to melt it off; otherwise, the bond is essentially permanent.
The process is similar to plastic welding: you mix two parts together. It takes about an hour to achieve a hold and fully cures in 12-24 hours. If you need a plastic part to adhere permanently to metal, consider using J-B Weld Steel.
Sanding
Sanding is crucial regardless of the method you choose and helps to clean up any print. For most materials, including PLA, I start with 220 grit sandpaper. This grit is ideal for smoothing your print without distorting its appearance. You can use slightly lower grit for very hard plastics, but be cautious, especially if the material has low heat resistance. For ABS, you can begin with a higher grit as it sands more easily than PLA. If you would like to use a PLA that is easier to sand – Polymaker offers our CosPLA which was specifically designed to be easier to sand for cosplayers. The image at the top of this article was made entirely with CosPLA.
After starting with 220 grit, you can move up to 800 and even 2000 grit sandpaper. Starting with high grit sandpaper won't make much progress, so it's best to start with 220 and work your way up. Wetting the sandpaper can also help in the process.
For many flat prints, especially when combining two parts, you can use a circular power sander. Be careful not to keep the sander in one spot for too long, as it can heat your part past the glass transition temperature and deform the print, particularly with PLA.
For hard-to-reach areas, you can use a Dremel with a sanding tip, but again, be very careful to only sand and not damage your part. I have certainly damaged PLA prints in the past by using a Dremel tool too long in one area.
Bondo
This material is very difficult to sand without damaging your part, so use it only for sealing large seams that need to be strong. I've used it a few times and you can achieve a smooth seal, but it requires considerable effort.
Once Bondo hardens, it cannot be easily sanded by hand. Therefore, you'll need an electric sander (or a Dremel sander for small areas). The challenge is to be very careful not to damage the printed part accidentally. Not only can you accidentally dent the part, but the heat generated from sanding can deform PLA.
However, for a strong, seamless seal where the seam is not visible, Bondo is an excellent choice. Just be aware that it might be nearly impossible to perfectly sand a 90-degree internal angle. If this is a concern, you might want to try using Spackle instead.
Spackle
This material is best suited for display pieces only, as it can be easily dented or scratched off even when fully dried. I use it exclusively on small models that I don't plan to handle or use for mechanical purposes. For very small seams or gaps in layers, I apply some spackle with my fingers, allowing me to work it into tiny areas. After about half an hour, I use 800+ grit sandpaper to smooth it out. It can easily be sanded by hand.
The downside of spackle is that it doesn't harden completely, making it susceptible to damage, such as accidental dents from fingernails. Therefore, it's ideal for filling small gaps on display pieces and should never be used on parts that will undergo mechanical stress.
Model Putty
Model putty offers a middle ground between the two options mentioned earlier and leans more towards Bondo than Spackle. If you're seeking a strong seam without dedicating excessive time to sanding, model putty is worth considering. However, expect to do more sanding compared to using regular Spackle. To note - I have not personally used model putty and therefore cannot give first hand experience.
Acetone vapor bath for ABS and ASA
Printing in ABS or ASA offers the advantage of acetone vapor finishing, a process not applicable to PLA and other materials. ABS and ASA are both soluble in acetone, which allows you to perform this process.
This technique not only enhances the water resistance of prints but also provides a glossy finish akin to injection-molded quality. Prints become smoother to the touch and easier to handle after acetone vapor finishing.
I have done quite a lot of acetone vapor finishing, now that enclosed printers capable of handling large ABS and ASA parts are common. For quite a while ABS (before ASA was even an option) was very difficult to print. This no longer being the case, along with the high glass transition temperature of the materials, makes ABS and ASA great choices in today's 3D printing landscape.
***CAUTION*** Acetone is EXTREMELY flammable, and this process should only be done in a well-ventilated area with absolutely no open flames. If you are not sure of your setup, DO NOT do it.
In fact, there are non-heated methods of acetone vapor finishing which I highly suggest checking out first. Two such videos are titled “Improve your prints with acetone smoothing” by Prusa 3D, and “How and How NOT To Do Acetone Vapor” by Let’s print. This process takes much longer than the one I describe below but is also highly preferred to be safe. Acetone vapor is ridiculously flammable and you will have a very bad fire if you are not careful. We are not kidding - the air can set on fire if there is a spark near your acetone vapor setup.
Here's a breakdown of the steps I perform when acetone vapor finishing:
Step 1: Use a standard cooking pot or slow cooker, with a metal grate or fishing line to suspend your prints. Hanging the part reduces the risk of deformities.
Step 2: Place the pot on a heated build plate set to 65-75 degrees Celsius. Once the pot reaches temperature and acetone vapor condensation appears inside the lid, remove the pot promptly. Multiple passes are possible, but irreversible deformation can occur if the part is over saturated with acetone.
For larger ABS prints, a broiler setup on a hot plate is viable but requires approximately 10 minutes due to the larger volume. Ensure adequate ventilation inside the pot for even distribution of acetone vapor. Keep in mind that acetone vapor is heavy – so it will fall to the bottom of your container and smooth out the bottoms of your print more than the tops. This is why if you can add a fan to circulate the acetone it will be beneficial.
Always err on the side of less time to prevent overexposure. You can repeat the process if necessary.
Step 3: After the acetone vapor bath, allow the part to dry for at least 30 minutes before vacuum purging. Do not touch the part before it has had time to dry, since you will deform the print. Vacuum purging strengthens the part and reduces drying time, although it's optional. Without vacuum purging, drying may take 24-48 hours for full strength.
Note: Overexposure to acetone vapor can lead to long-term issues such as cracks in the finished prints, as observed in prints I finished over two years ago. Exercise caution to avoid excessive exposure.
Polysher and Polysmooth
We have developed a product called the Polysher, designed to function similarly to an acetone vapor bath, but specifically for 3D prints using isopropyl alcohol. Unlike materials soluble in acetone, our PolySmooth PVB filament dissolves in alcohol, making a vapor bath effective for removing layer lines.
For cosmetic purposes where mechanical strength or heat resistance is not critical, I recommend using this method over acetone vapor and ABS/ASA. Opting for an isopropyl alcohol bath with Polysmooth achieves similar results without the associated risks of acetone vapor finishing. However, the resulting part will not be as mechanically strong nor have nearly the same heat resistance.
Additionally, spraying alcohol directly onto the print with a mister or spray bottle is a viable option, though using the Polysher is preferable.
This method is particularly suitable for producing display pieces such as miniatures or action figures, as it achieves an injection mold look. However, exercise caution with mechanical parts due to PolySmooth’s relatively low heat resistance and mechanical strength .
Primer
If painting your print is part of your plan, start by spraying a coat of flat grey primer (or primer filler) before proceeding. Ensure your parts are combined, sanded smooth, and thoroughly cleaned of any debris before reaching this stage. Using a powerful air blower, especially if you have a compressor on hand, can help ensure all dust is blown away.
In a well-ventilated area or outdoors with a tarp laid down, apply a light, even coat of primer from a distance of 6-12 inches away from your part. This prepares the surface for acrylics and other paints to adhere properly.
After allowing a couple of hours for the primer to fully dry, you can proceed with spray painting or hand painting. If you used primer filler, you can further sand the print smooth, which is why I prefer it over standard primer. For an exceptionally smooth finish, apply a coat of primer filler, allow it to dry, sand, clean, apply another coat, and sand once more. While this method may compromise some fine detail, it effectively eliminates layer lines.
Painting
Over the past few years, I've conducted various tests using an airbrush on 3D prints and gradually improved my technique. My initial attempts at learning this skill are documented in the video on Odysee titled "Learning to Airbrush 3D Prints," but I've since incorporated airbrushing into many of my subsequent videos.
While I've found it challenging to paint within lines using an airbrush, it excels at achieving an even spread of paint and shading. For smooth and uniform coverage, airbrushing is my preferred method, as hand painting often results in visible brush marks or clumps.
However, for painting within small areas, I still opt for hand painting. Given my prior experience with hand painting before acquiring an airbrush kit, I feel more confident in this approach.
Acrylic paint sets with 24 colors are readily available online at affordable prices, although mastering the details may require practice. Alternatively, model paint, while slightly pricier, is also suitable. Remember to allow adequate drying time and finish with a clear satin or glossy spray coat to ensure a proper setting. Do not try and rush the process of drying – make sure you are patient.
Investing in a set of high-quality, thin paint brushes is advisable for precise work, particularly for features such as eyes where fine detail is crucial.
It's important to note that not all materials are suitable for painting. I've encountered issues with acrylic paints cracking on flexible filaments when flexed.
Lastly, I've benefitted from a YouTube tutorial video titled "GalactiCustoms: 1/6 Paint Tutorial: Obi-Wan Kenobi- Pt 3 Eyes," which provided valuable insights into painting eyes and significantly enhanced the appearance of my painted parts. It is well worth a watch if you want to learn how to paint eyes on your 3D prints like a pro.